
A size 8 in one store may fit like a size 6 or 10 somewhere else. That inconsistency is frustrating, but it does not mean size charts are useless. The label is only a shorthand. The measurements are the part that gives you something concrete to compare.
Reading a size chart becomes much easier when you stop asking, “What size am I?” and start asking, “Which garment measurements are closest to mine, and how is this item meant to fit?” That shift helps you make better choices across brands, especially when shopping online.
This guide focuses on comparing your measurements with a brand’s chart and adjusting for the intended fit. It does not cover detailed alterations, body-shape typing, or every regional sizing system. Those topics matter, but they come after you have identified the best starting size.
Start With Your Own Measurements
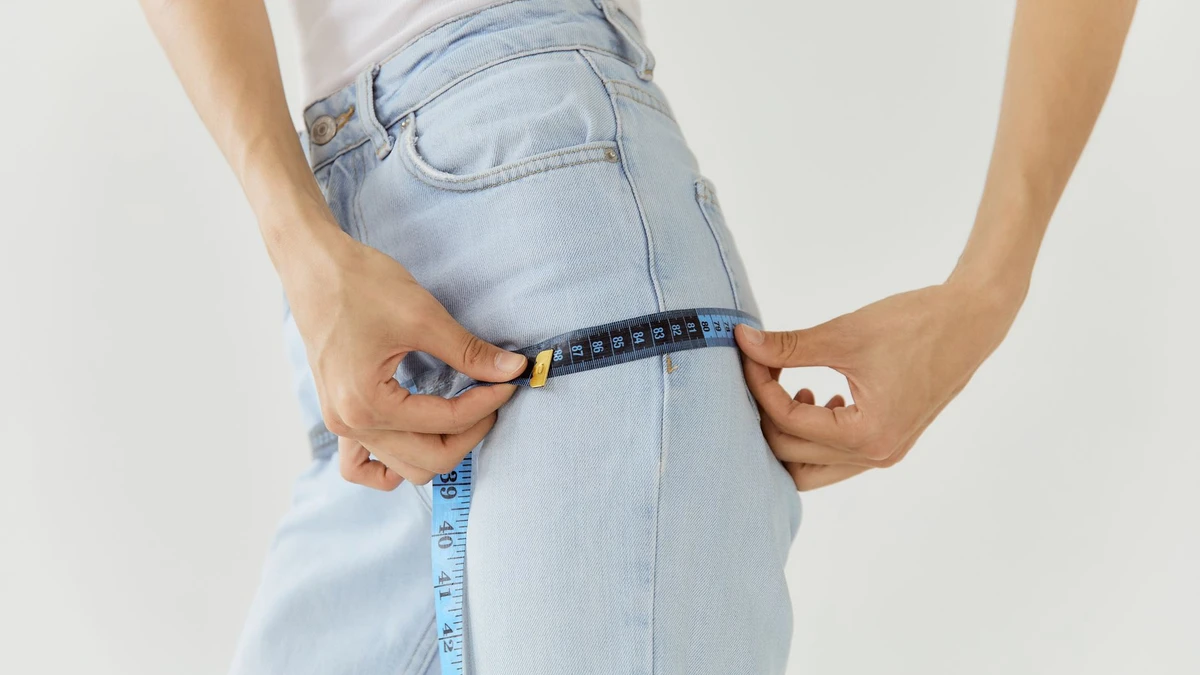
Before comparing brands, create a current set of body measurements. Do this in light clothing or underwear, standing naturally, with the tape measure level but not tight. Pulling the tape too firmly can make you choose a size that feels restrictive once you move.
The measurements you need depend on the garment:
- Bust or chest: Measure around the fullest part of the chest, keeping the tape horizontal.
- Waist: Measure around the area where your body naturally bends, or follow the brand’s instructions if it defines the waist differently.
- Hips: Measure around the fullest part of the hips and seat.
- Inseam: Measure from the crotch to the ankle area along the inside leg. This is often easier to take from a pair of pants that already fits well.
- Shoulder, sleeve, and torso length: These may matter for jackets, coats, jumpsuits, and fitted tops.
Do not assume you need every measurement for every purchase. A loose sweater may depend mostly on chest width and length, while jeans may depend heavily on waist, hip, rise, and inseam.
Record the measurements with the date. Bodies change, and measuring again is sensible when your last set is more than a few months old or when a garment suddenly fits differently. You can also keep a note in your phone so the information is available while shopping.
Find Out What the Chart Measures
A size chart can describe body measurements, garment measurements, or both. These are not interchangeable.
A body measurement chart tells you which body size the brand expects for each labeled size. For example, a chart may list a medium for a 38-inch chest and a 32-inch waist. You compare your body directly with those numbers.
A garment measurement chart gives the finished dimensions of the item itself. A shirt may have a 42-inch chest because it is designed to fit a body with a smaller chest and include ease. You should not automatically choose a size whose garment measurement exactly matches your body measurement.
Look for labels such as “body measurements,” “product measurements,” “finished measurements,” or “measurements of the item.” If the chart does not make this clear, check the product description or the brand’s fit notes. When the information remains ambiguous, customer service may be able to clarify it, but the return policy is still an important fallback.
A product page can also show different information from the general brand chart. A special collection, extended size range, or made-to-measure line may use its own specifications. Use the chart attached to the exact item whenever one is available.
Compare the Measurement That Controls the Fit
You do not always need to match every number equally. Identify the measurement most likely to determine whether the garment feels comfortable and looks as intended.
For pants, the waist and hips usually matter more than the inseam because length can sometimes be altered. For a fitted blouse, the bust may be the limiting measurement, especially if the fabric has little stretch. For a blazer, shoulder width and chest room can matter more than the waist. For a dress, compare the bust, waist, and hips, then check the garment length and silhouette.
This is where many online shoppers make a costly mistake: they choose the size that matches one familiar number while ignoring the area that will actually restrict movement. A pair of trousers that fits the waist but pulls across the hips is not a successful match. Neither is a jacket that closes at the waist but strains at the shoulders.
Make a short priority list before ordering:
- Identify the garment’s most restrictive or structured area.
- Compare that body measurement with the chart.
- Check the remaining measurements for obvious conflicts.
- Read the fit description and fabric details before deciding.
Account for Ease and Intended Fit
The same body measurements can lead to different size choices depending on how an item is designed to fit.
Ease is the space between your body and the garment. A relaxed shirt has more ease than a fitted shirt. A coat may include extra room for a sweater, while a stretch tank may be cut close to the body. A chart does not always show the amount of ease, so product photos and fit language provide useful context.
Words such as “slim,” “fitted,” “relaxed,” “oversized,” and “boxy” are not universal formulas, but they offer clues. A fitted item may be intended to sit close to your measurements. A relaxed item may look wrong if you size down simply to get a smaller number. An oversized design may already have deliberately broad shoulders and extra length, making your usual size the correct choice.
Fabric changes the calculation too. Stretch denim, ribbed knits, and elastane blends can tolerate a closer fit than rigid cotton or woven linen. A woven shirt with no stretch needs enough room for movement across the back and chest. The size chart tells you the dimensions, but the fabric and cut help explain how those dimensions will behave.
Do not treat sizing up or down as automatically better. Sizing up can solve tightness but create excess fabric, dropped shoulders, or a longer hem. Sizing down can create a cleaner line in one area while causing pulling, gaping, or uncomfortable movement elsewhere.
What to Do When You Fall Between Sizes
Landing between two sizes is normal. Start by deciding which measurement is least flexible and which kind of fit you prefer.
For a nonstretch skirt, select the size that accommodates the larger relevant measurement, usually the hips, then consider alterations if the waistband is loose. For a stretchy knit top, the smaller option may work if you prefer a close fit and the fabric is designed to recover. For a structured jacket, shoulder fit is difficult to alter, so do not choose a smaller size merely because the waist measurement looks closer.
Your choice should also reflect how you plan to wear the item. If a coat needs to fit over a sweater, allow for that layer. If a dress will be worn in warm weather without additional clothing, the same extra room may not be necessary.
When both sizes seem plausible, compare the product measurements if they are listed. A difference of an inch in the waist may be less noticeable in a pull-on garment than in rigid jeans. A difference in shoulder width can be much more significant in a tailored jacket.
If the item is expensive, time-sensitive, or difficult to return, ordering two sizes can reduce uncertainty when the retailer permits convenient returns. Check return shipping, restocking fees, final-sale rules, and whether refunds are issued as money or store credit before using this approach.
Build a Brand-Specific Reference
Once you find a brand whose clothes fit reliably, keep notes about the actual garments rather than only the labeled sizes.
Record the item name, size purchased, fabric, and what worked or did not work. You might learn that a brand’s woven tops fit well in one size while its denim runs narrow through the hips. Another brand may use generous sleeves but short body lengths. These patterns are more useful than a general claim that the entire brand “runs small.”
You can also measure a garment you own and like. Lay it flat without stretching it, then measure the relevant areas using the method provided by the retailer. For example, measure the waistband across and double that number, or measure the chest from underarm to underarm and double it. Compare those garment measurements with a new product’s measurements when both use the same method.
This method has limits. A flat garment measurement does not reveal how the fabric stretches, how the item hangs, or how its pattern is shaped. Still, it gives you a practical reference that is often more reliable than a letter or number on the tag.
Read Reviews for Fit Clues, Not Exact Answers
Customer reviews can help fill in details that a size chart leaves out. Look for repeated comments about specific areas: narrow shoulders, long sleeves, a short rise, a tight waistband, or a generous cut through the body.
Give more weight to reviews that explain the garment and the reviewer’s usual size than to vague comments such as “runs weird.” A useful review might say that the fabric has no stretch, the waist fits as expected, and the hips feel narrow. Even then, treat reviews as evidence rather than a replacement for your measurements. Different shoppers use different fit standards, and one person’s “oversized” may be another person’s preferred relaxed fit.
Photos can also reveal proportions, but they are not a precise measuring tool. Styling, pose, footwear, clipping, and garment size can all affect how an item appears.
Common Size Chart Mistakes
Trusting the letter or number first
Measuring over bulky clothing
Pulling the tape tight
Ignoring the largest relevant measurement
Assuming every chart uses the same method
Forgetting shrinkage and care
A Quick Pre-Order Checklist
Before adding an item to your cart, confirm these points:
- You have current bust or chest, waist, hip, and relevant length measurements.
- You know whether the chart describes your body or the garment.
- You identified the measurement that controls the fit.
- You checked whether the fabric stretches.
- You read the fit description for the exact product.
- You considered layers, movement, and the look you want.
- You reviewed the return and exchange policy.
If the chart is missing important measurements, the product description is vague, and returns are difficult, treat that as a reason to pause. Guessing can work for a low-cost basic, but it is a weak strategy for structured or expensive clothing.
Your Most Reliable Size Is a Range, Not a Label
The practical result of reading a size chart is not finding one permanent size. It is learning how your measurements interact with different cuts, fabrics, and brand systems.
Keep your measurements accessible, compare the exact chart for each item, and focus on the area where fit matters most. Then use fabric, ease, reviews, and the return policy to resolve the remaining uncertainty. A label may change from one store to another, but a careful comparison gives you a consistent way to make the decision.