

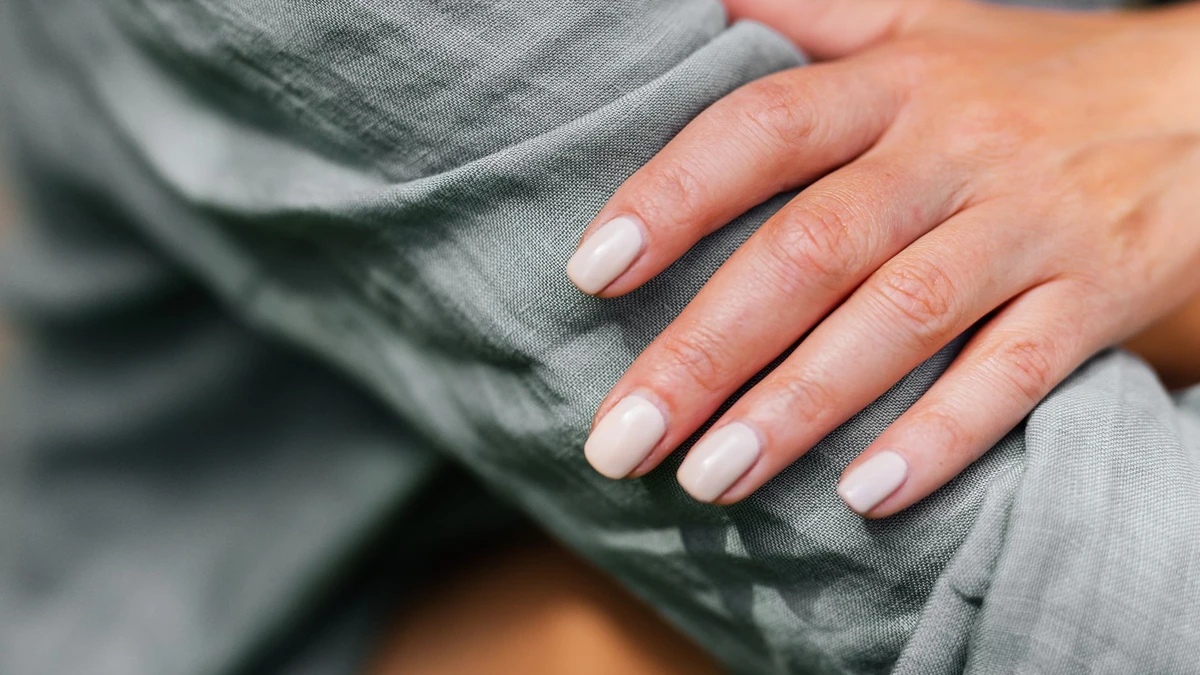
The Core Idea
Natural nails usually peel and split when they lose flexibility and are repeatedly exposed to stress. The visible damage may appear at the free edge as thin layers lifting, small cracks spreading across the nail, or corners breaking before the nail has time to grow. Although this can be frustrating, the solution is rarely one miracle product. Stronger-looking nails usually come from reducing repeated damage while supporting the nail’s natural moisture balance.
The key to preventing nail peeling is to treat your nails as living tissue that needs protection, not as tools. Nails can bend slightly without breaking when they are flexible. However, frequent soaking and drying, harsh cleaning products, aggressive filing, picking at polish, and using the nails to open or scrape things can weaken the layers. Once an edge starts to lift, pulling or tearing it often removes more of the nail plate and creates a larger area for splitting.
This matters because peeling can become a cycle. A small lifted layer catches on clothing or hair. You trim or pull at it, the edge becomes rougher, and the nail is exposed to more snagging and impact. Repeated cycles may make the nails seem naturally fragile when the main issue is ongoing mechanical and environmental stress.
The practical goal is not to make natural nails completely hard or rigid. Overly rigid nails can still crack when they encounter pressure. Instead, aim for nails that are protected, reasonably flexible, and kept at a manageable length. This means combining gentle grooming with habits that limit water exposure, chemicals, friction, and unnecessary pressure.
Daily hydration can also help the surrounding skin and nail surface feel less dry, especially after handwashing. A hand cream or cuticle oil may reduce the rough, brittle feeling that encourages picking, but no product can compensate for constant trauma. Care works best when it is paired with behavior changes, such as wearing gloves for household chores and using scissors or tools instead of your nails.
Growth is another important part of the process. Damage already present in the nail plate cannot be permanently repaired because the visible nail is not living tissue. It must gradually grow out and be trimmed away. The improvements you notice first may be fewer new splits, smoother edges, and less snagging rather than an instant transformation.
In short, keeping natural nails from peeling and splitting easily is a prevention-and-protection strategy. Reduce the forces that separate the nail layers, maintain flexibility with consistent care, and give healthy nail growth enough time to replace damaged areas.
What to Look For
When trying to prevent nail peeling, look for patterns rather than judging your nails by one bad day. A single split may come from an accident, but repeated peeling usually points to a combination of moisture changes, mechanical stress, and habits that weaken the nail over time. The most useful clues are how your nails react, where the damage appears, and what happens before it starts.
Notice when peeling occurs. If layers lift after washing dishes, swimming, showering, or repeated handwashing, frequent wetting and drying may be contributing. Nails absorb water and expand slightly, then contract as they dry. Repeating that cycle can make the layers separate. This does not mean you should avoid water; it means you may need better protection during prolonged exposure, such as wearing lined gloves for cleaning and applying hand cream afterward.
Check where the damage begins. Peeling at the free edge often suggests friction, impact, or using the nails to pry, scrape, or open objects. Splits that start along the sides may be linked to snagging, sharp corners, or filing in a rough back-and-forth motion. Damage near the cuticle is different: picking, cutting too aggressively, or pushing the cuticle forcefully can irritate the surrounding skin and interfere with healthy growth. The location can help you change the habit most likely to be responsible.
Compare flexibility, not just hardness. Nails that feel rigid and brittle may break easily, but nails that are constantly soft, thin, or bendable can also be vulnerable. A healthy nail does not need to feel rock-hard. Look for a smooth surface with a small amount of natural flexibility and no widespread flaking. Products that promise instant hardening are not automatically the best choice, especially if they leave your nails stiff enough to crack under pressure.
Evaluate your filing technique. A smooth, gently rounded edge is less likely to catch on fabric than a jagged or sharply squared one. Use a fine-grit file and make controlled strokes, rather than sawing rapidly in both directions. If a nail has already started to peel, do not pull the loose layer away. Carefully smooth the edge so it cannot catch and spread the split.
Review the products and routines you use. Acetone, strong removers, frequent gel removal, and picking off polish can all increase dryness or remove surface layers when used aggressively. This does not mean every manicure is harmful. Instead, look for warning signs: tenderness, roughness after removal, persistent flaking, or nails that become progressively thinner. These signals suggest that your routine needs more recovery time and gentler handling.
Finally, pay attention to changes that affect many nails at once, especially sudden thinning, unusual ridges, discoloration, pain, or separation from the nail bed. Persistent or unexplained changes deserve advice from a healthcare professional rather than more cosmetic products.
A Practical Approach
A simple routine works better than trying to fix peeling with one product. The goal is to reduce repeated stress, protect the nail as it grows, and give damaged layers time to move beyond the fingertip.
1. Start with a short nail assessment
Look at each nail in good light before changing your routine. Note whether the peeling is concentrated at the free edge, affects several nails, or appears alongside ridges, discoloration, pain, or swelling. This helps you choose a sensible response.
If the problem is limited to the tips and follows frequent washing or household tasks, focus first on protection and moisture control. If several nails are changing without an obvious cause, or the skin around them is inflamed, consider speaking with a dermatologist or healthcare professional rather than relying only on home care.
2. File away loose edges
Do not pull at a lifted layer, even if it catches on clothing. Pulling can tear attached nail tissue and make the split travel farther. Instead, use a fine-grit file to smooth the loose edge. Move in one direction with light pressure, and avoid repeatedly sawing back and forth.
Keep the nails at a practical length while they recover. Shorter nails have less leverage, so they are less likely to bend, snag, or split during everyday activities. This does not require cutting them extremely short; leave enough length to file comfortably without exposing tender skin.
3. Protect your hands from repeated wetting
Wear rubber or nitrile-lined gloves when washing dishes, cleaning, gardening, or handling products that remove oil from the skin. If gloves make your hands sweaty, choose a breathable pair or remove them periodically to dry your hands.
You do not need to avoid normal handwashing. Instead, use lukewarm water, a gentle cleanser, and a towel to pat the hands dry, including around the nail edges. Reducing dramatic wet-dry cycles is often more realistic—and more useful—than trying to keep nails completely dry.
4. Moisturize after washing
Apply hand cream or a thicker ointment while the skin is still slightly damp. Massage it over the cuticles, nail folds, and the front and underside of the nail. Ingredients such as petrolatum, glycerin, or ceramides can help reduce dryness and improve flexibility.
Use the product consistently rather than applying a large amount only when peeling becomes obvious. A small tube kept near the sink, desk, or bedside table makes this habit easier to maintain.
5. Remove common sources of mechanical stress
Use your fingertips for their intended purpose, not as tools for opening cans, scraping labels, lifting lids, or prying objects apart. Avoid biting, picking, and cutting the cuticles, since these habits can create small injuries that weaken the surrounding protective barrier.
Finally, give the routine several weeks. Nails grow slowly, so improvement usually means fewer new splits and stronger growth at the base—not an instant change at the tip. This steady approach is the most practical way to prevent nail peeling over time.
Common Mistakes to Avoid
Even a careful nail-care routine can fail if small habits keep weakening the nail plate. These mistakes are easy to overlook because they often feel helpful in the moment.
Peeling off loose layers
When a corner lifts, it is tempting to pull it away or use another nail to remove it. This can tear away healthy layers that are still attached to the nail bed, leaving a thinner, rougher edge. The damage may then spread farther than the original split.
Instead, clip only the detached portion with clean nail clippers, then smooth the edge gently with a fine-grit file. A useful test is to run a fingertip—not a fingernail—over the area. If it still catches, file a little more rather than picking at it.
Buffing away ridges or flakes too aggressively
A buffer can make uneven nails look smooth, but repeated or forceful buffing removes surface layers. This is especially risky when the nail is already peeling, because the visible flaking may be a sign that the plate is thin.
Use buffing sparingly, if at all, and choose a fine buffer rather than a coarse one. Stop as soon as the surface feels reasonably even. If the nail feels noticeably warm, tender, or thinner after buffing, the pressure or frequency is too high.
Relying on very hard nail products
Nail hardeners can make flexible nails feel stronger, but some formulas create a rigid surface that does not bend well with the natural nail. As the nail flexes during everyday activities, the coating may contribute to cracking or splitting. Strong products can also irritate the surrounding skin.
Treat a hardener as an occasional experiment, not an automatic solution. Apply it to one or two nails for a limited period and compare them with untreated nails. Discontinue it if the nails become more brittle, painful, or prone to surface cracks.
Covering damage without checking the cause
Polish, gel manicures, and extensions can temporarily hide peeling, but concealment is not the same as repair. Removing an enhancement may also lift already-fragile layers if it is filed aggressively or peeled away.
Before covering damaged nails, check whether they are painful, discolored, separating, or changing in several places. If so, pause cosmetic treatments and consider professional medical advice. A healthy-looking finish should not be used to ignore signs that need assessment.
Changing too many products at once
Trying several oils, creams, treatments, and removers together makes it difficult to know what helps or causes irritation. Fragrance, preservatives, or adhesive ingredients may trigger redness around the nails, which can complicate efforts to prevent nail peeling.
Introduce one change at a time and keep it consistent for a few weeks. Note changes in splitting, tenderness, and surrounding-skin irritation. This simple trial-and-observe method gives you clearer information and prevents an endless cycle of product switching.